The Manager UI Structure and sub pages
After login, the user is directed either to select a tenant or if the user has acccess to single tenant or logged directly to a tenant URL, the homepage of the tenant.
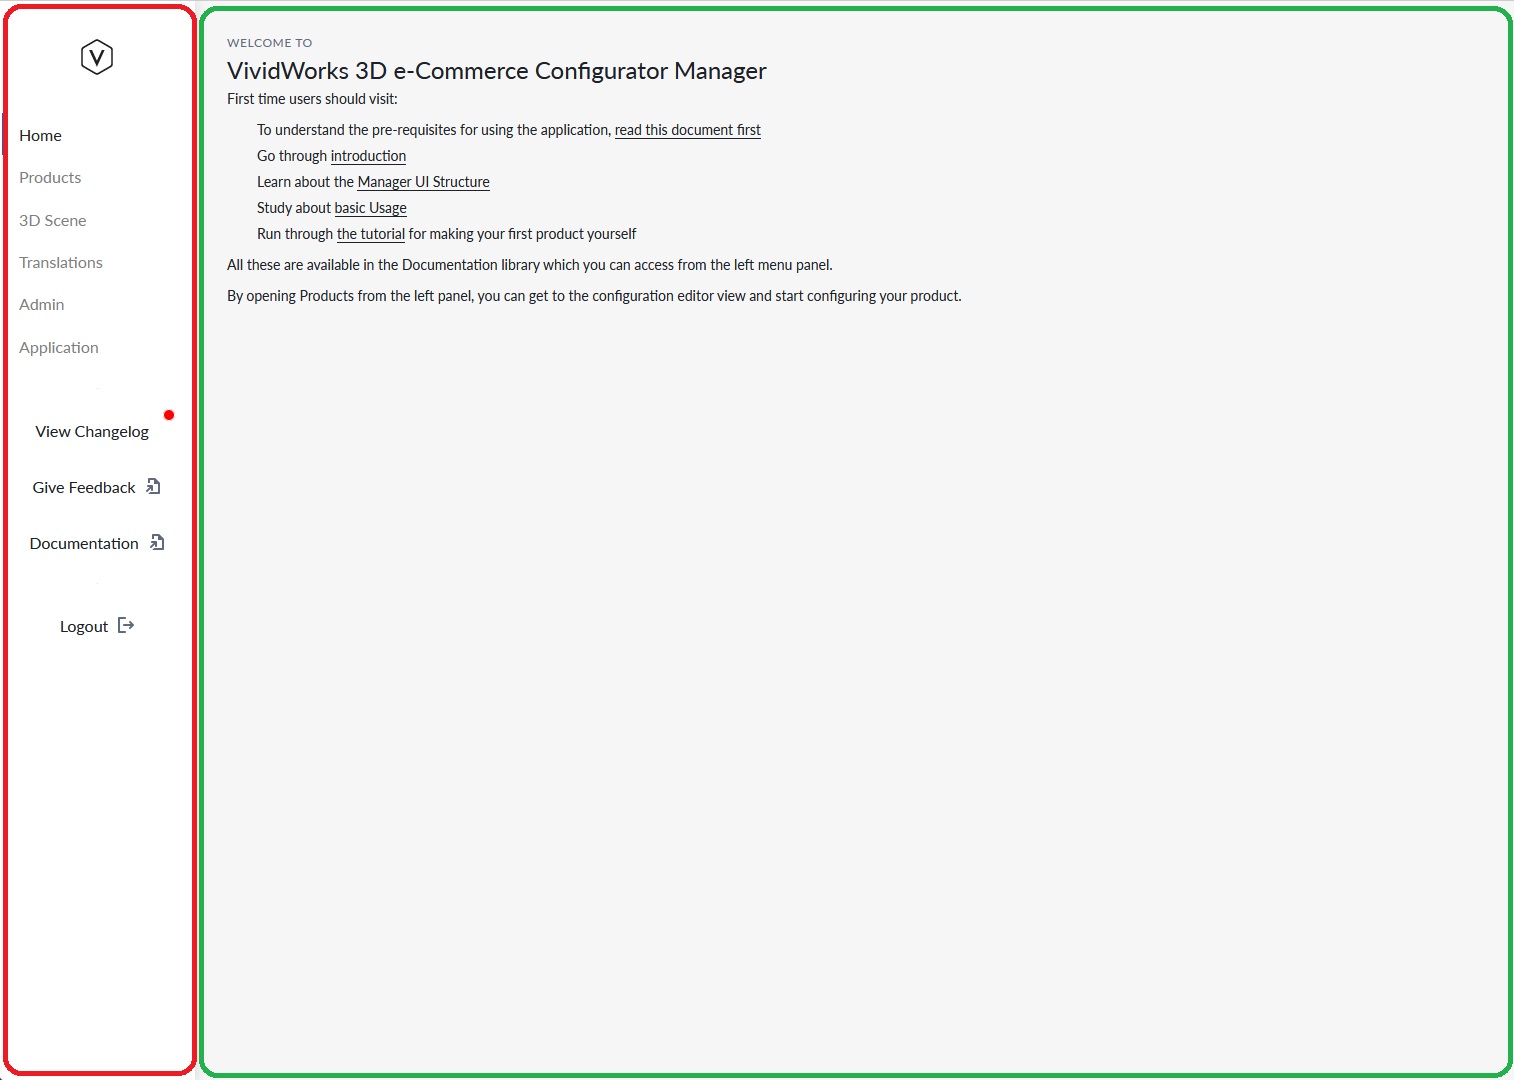
The manager UI has menu on the left (red) and then rest of the browser window (green) is reserved for controls and widgets related to the selected page.
The left menu bar of the Manager UI
The left menu bar of the manager UI is composed of two parts
- The action screen menus
- Common links
Action Screen Menu contains links to pages that are controlled by your subscription and you access roles Common Links menu is shared by all screens and contains links that open as widgets or new tabs
The left menu bar when tenant is selected looks like 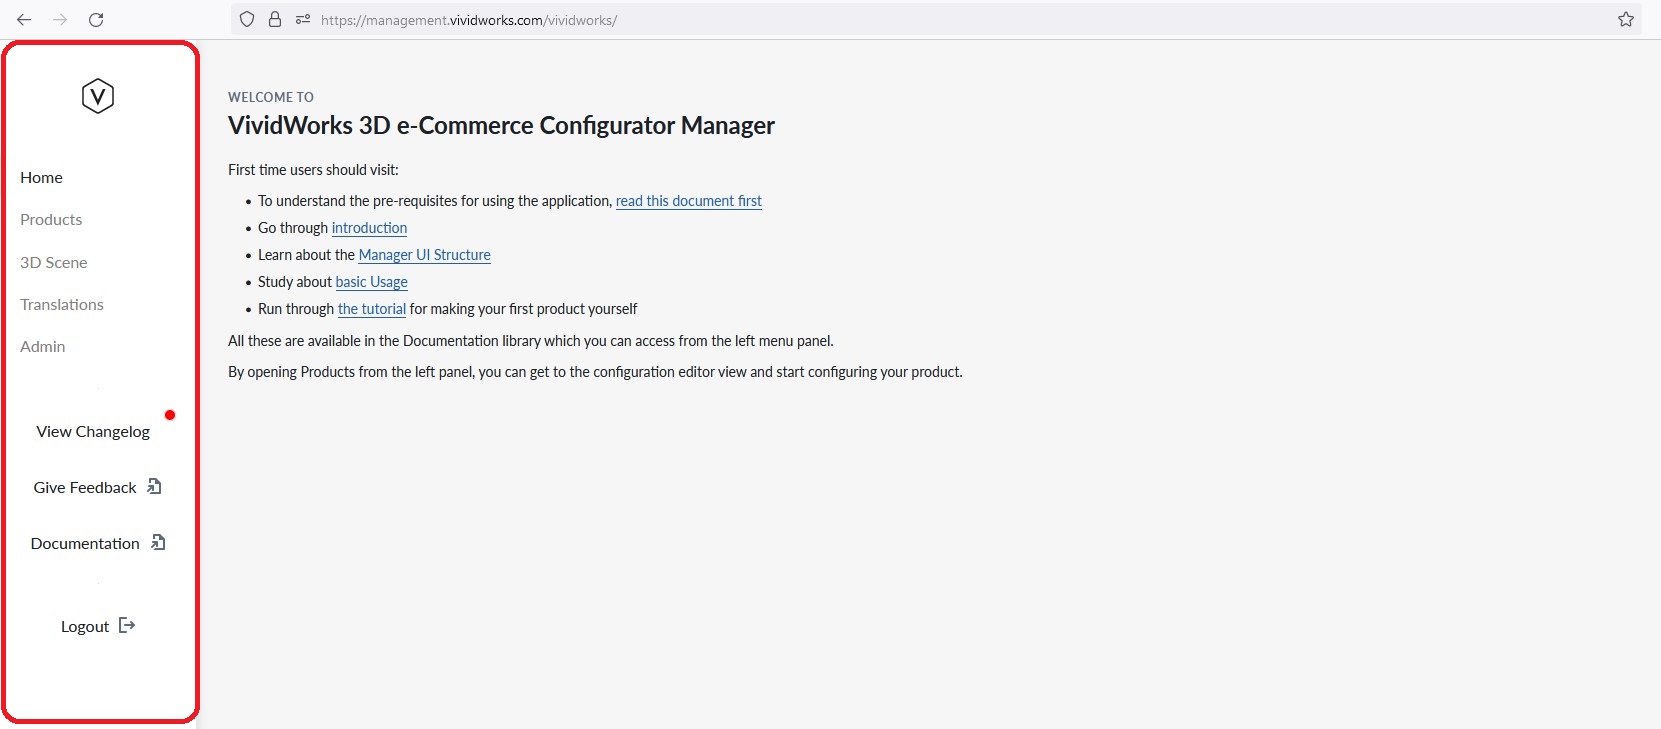 and adds the following items to user
Action Screen Menus
- Home - the homepage
- Products - the configuration window for products that are configured in the Planner
- 3D Scene - the Manager UI viewer for testing & staging work
- Translations - the localization area for the Planner multi-language support
- Application - configuration options that affect the tenant and all product libraries
- Admin - configuration of user access and tenent level paraneters
Application and Admin pages are under role based access control and only Admins and Tenant Admin roles have access to the pages. Normal users do not see the links in the browser. See access control for more information.
We will be adding new features under each of the menus and also add new menu items over time.
Common Links
- View Changelog - new deployment updates and new features and improvements and fixes
- Give Feedback - place for you to share your needs and vote and view feedback from others
- Documentation - link to this documentation you are looking
- Logout